Safety Precautions and Essential Guidelines
Always ensure the Liner Pan is properly placed before use. Never open the Dome or remove the power head while the oven is operating. Use oven-safe cookware only‚ such as metal‚ glass‚ or silicone dishes. Keep children away and avoid touching hot surfaces. Read the entire manual before first use to ensure safe operation and avoid warranty voidance. Regular cleaning and maintenance are crucial for long-term efficiency and safety.
1.1. Pre-Use Checks and Safety Measures
- Before first use‚ wash the Dome‚ Liner Pan‚ Base‚ and Cooking Rack in warm soapy water or run through a dishwasher cycle.
- Ensure the power cord is undamaged and plugged into a grounded outlet‚ avoiding extension cords.
- Verify the Liner Pan is correctly placed in the Base to prevent food residue from spilling.
- Check for any damage to the oven components and ensure all parts are securely assembled.
- Keep children away from the oven during operation and never leave it unattended while in use.
These steps ensure safe and efficient operation of your NuWave Oven.
1.2. Important Safety Instructions for Operation
Never operate the NuWave Oven with a damaged cord or plug. Avoid touching hot surfaces‚ and use oven mitts or tongs to handle cookware. Do not open the Dome or remove the power head while cooking. Ensure proper ventilation to avoid overheating. Always set the oven on a stable‚ heat-resistant surface away from flammable materials. Follow recipe guidelines for ingredient amounts to prevent splatter and ensure safe operation. Keep the oven out of reach of children during and after use. Regularly inspect and maintain all components for optimal performance and safety. Adhere to these guidelines to prevent accidents and prolong the life of your oven. Always unplug the oven when not in use or before cleaning. Failure to comply may result in injury or damage‚ voiding the warranty. Refer to the manual for detailed safety measures and operational best practices. Maintain a safe distance from the oven while it is in operation to avoid burns from escaping steam or hot air. Never leave the oven unattended during cooking‚ as this can lead to unintended consequences. By following these instructions‚ you ensure a safe and efficient cooking experience with your NuWave Oven.
Assembly and Initial Setup of the NuWave Oven
Unpack and wash the Dome‚ Liner Pan‚ Base‚ and Cooking Rack in warm soapy water or run through a dishwasher cycle. Place the oven on a stable‚ heat-resistant surface‚ ensuring proper ventilation and distance from other appliances. Follow the manual for correct assembly and initial setup to ensure safe and optimal performance.
2.1. Unpacking and First-Time Setup
Carefully unpack the NuWave Oven components‚ including the Dome‚ Liner Pan‚ Base‚ and Cooking Rack. Before first use‚ wash all parts in warm soapy water or run through a dishwasher cycle. Place the oven on a stable‚ heat-resistant surface‚ ensuring proper ventilation. Avoid placing it near flammable materials or other appliances. Follow the manual for correct assembly‚ ensuring all parts are securely fitted. This setup ensures safe and optimal performance for your cooking experience.
2.2. Placement and Electrical Requirements
Place the NuWave Oven on a flat‚ heat-resistant surface‚ away from flammable materials. Ensure the area is well-ventilated to prevent moisture buildup. Plug the oven into a dedicated 120V electrical outlet‚ avoiding extension cords or shared circuits due to high power consumption. The oven should not be operated near water sources or in humid environments. Proper placement and electrical connection ensure safe and efficient operation‚ adhering to the manufacturer’s guidelines for optimal performance and longevity.

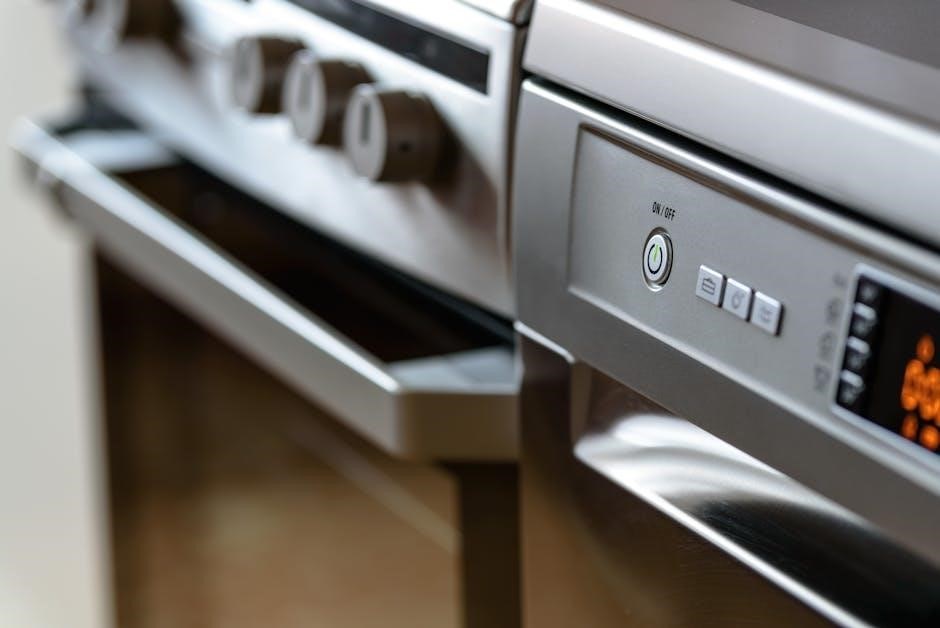
Understanding the Control Dials and Functions
The NuWave Oven features a cook time dial and power level button for precise control. Set the desired cooking time and select high or low power for optimal results;
3.1. Setting Cooking Time and Temperature
To set the cooking time and temperature on your NuWave Oven‚ locate the control dials on the power head. Turn the cook time dial to select the desired duration‚ ensuring it aligns with your recipe’s requirements. Adjust the temperature dial to achieve the optimal heat level for your dish. For precise control‚ refer to the manual for guidelines on power levels and cooking times to ensure even heating and avoid overcooking. Proper settings enhance cooking efficiency and food quality;
3.2. Adjusting Power Levels for Different Recipes
Adjusting power levels on your NuWave Oven ensures optimal cooking results for various dishes. Use the power level dial to select from low to high settings‚ depending on the recipe. Lower levels are ideal for delicate foods like fish or vegetables‚ while higher levels suit meats or crispy textures. The oven’s infrared and convection technologies work together to distribute heat evenly; Always consult the manual for specific power level recommendations to achieve the best outcomes for your recipes.
Cooking Modes and Techniques
The NuWave Oven offers convection‚ infrared‚ and combination cooking modes for versatile meal preparation. Use the extender ring for multi-level cooking‚ accommodating larger dishes or multiple items efficiently.
4.1. Convection‚ Infrared‚ and Combination Cooking
The NuWave Oven combines convection‚ infrared‚ and conduction heat for efficient cooking. Convection circulates hot air for even results‚ while infrared heat locks in moisture and flavors. The combination mode optimizes both‚ reducing cooking time by up to 50%. This triple heat technology allows for healthier meals with less oil. Use convection for roasting‚ infrared for searing‚ or combine for perfect doneness. Always refer to the manual for specific settings to achieve desired results.
4.2. Multi-Level Cooking with the Extender Ring
The Extender Ring allows multi-level cooking‚ doubling your cooking capacity. It fits seamlessly with the 3-inch reversible rack‚ enabling you to cook multiple dishes simultaneously. Perfect for large families or entertaining‚ it accommodates oversized items like turkeys. Use it for layering meals or baking multiple trays. Ensure the rack is in the 3-inch position before adding the ring. This accessory enhances versatility‚ making the NuWave Oven ideal for varied and efficient meal preparation.
Temperature and Timer Settings
Set the perfect temperature and timer for your dish using the control dials. Ensure precise cooking control with the timer‚ and always use oven-safe materials.
Accurate temperature settings ensure even cooking. Use the timer for consistent results‚ and never open the Dome while operating. Proper placement of the Liner Pan is essential.
5.1. How to Set the Perfect Temperature for Your Dish
Set the temperature using the control dial‚ ensuring it matches your recipe requirements. Use the infrared and convection heat settings for precise control. For meats‚ poultry‚ and fish‚ medium-high heat works best‚ while lower settings suit vegetables and delicate dishes. Refer to the manual or recipe book for specific temperature guidelines. Adjust the dial gently to avoid sudden changes. The NuWave Oven’s unique heating technology ensures even cooking‚ so monitor your dish to achieve desired results;
5.2. Using the Timer for Precise Cooking Control
The timer ensures precise cooking by allowing you to set exact durations; Simply turn the cook time dial to your desired minutes. The oven will automatically shut off once the timer expires‚ preventing overcooking. Monitor your dish through the Dome for visual confirmation. For delicate foods‚ shorter intervals are recommended‚ while heartier meals may require longer times. This feature enhances control‚ making it ideal for achieving perfectly cooked results every time.
Oven Racks and Accessories
The reversible cooking rack and 3-inch extender ring enable multi-level cooking and accommodate larger dishes. Accessories like enamel baking pans enhance versatility‚ ensuring optimal cooking results every time.
6.1. Using the Reversible Cooking Rack
The reversible cooking rack offers flexibility for various cooking needs. Place it in the 1-inch position for smaller dishes or 3-inch for larger items like roasts. Ensure the rack is securely positioned to prevent food from tipping. For multi-level cooking‚ use the extender ring to stack dishes without overcrowding. Always handle the rack with oven mitts to avoid burns. Proper placement ensures even cooking and prevents food from touching the heating elements.
6.2. Accessories for Enhanced Cooking Experience
The NuWave Oven comes with accessories like the 3-inch extender ring‚ 10-inch enamel baking pan‚ and 2-inch cooking rack. These enhance versatility‚ allowing multi-level cooking and accommodating larger dishes. Use the extender ring for oversized items or stacking. The baking pan is ideal for roasts and baked goods. Always ensure accessories are oven-safe and properly positioned to avoid overcrowding and ensure even cooking. These tools expand your culinary possibilities‚ making the oven adaptable to various recipes and cooking styles.

Maintenance and Cleaning Instructions
Regular cleaning of the NuWave Oven components is essential. Wash the dome‚ liner pan‚ base‚ and rack in warm soapy water or run through a dishwasher cycle. Deep cleaning tips ensure long-term efficiency and safety; Always follow manufacturer guidelines for maintenance.
7.1. Regular Cleaning of the Oven Components
Regularly clean the NuWave Oven components to maintain efficiency and hygiene. Wash the dome‚ liner pan‚ base‚ and cooking rack in warm soapy water or run them through a dishwasher cycle. For tough stains‚ mix baking soda and water to create a paste‚ apply it‚ and let it sit before scrubbing. Ensure all parts are dry before reassembling. Avoid using abrasive cleaners to prevent damage to surfaces. Cleaning after each use prevents food residue buildup and ensures optimal performance.
7.2. Deep Cleaning Tips for Long-Term Use
For deep cleaning‚ mix equal parts water and white vinegar in the liner pan and run a 30-minute cycle at 350°F. This helps remove stubborn residue. Use a soft brush to scrub interior surfaces gently. Avoid harsh chemicals or abrasive sponges to prevent damage. Regular deep cleaning ensures the oven retains its efficiency and longevity. Always unplug the oven before deep cleaning and allow it to cool completely to avoid burns or damage to components.
Troubleshooting Common Issues
Check error codes for specific solutions. Ensure the power cord is secure and the outlet is functioning. For uneven cooking‚ adjust food placement and levels; Consult the manual for detailed fixes or contact customer support if issues persist.
8.1. Resolving Common Operating Problems
Check error codes for specific solutions‚ such as E1 or E2‚ which may indicate heating or sensor issues. Ensure the power cord is securely connected and the outlet is functioning. If the oven doesn’t turn on‚ reset the circuit breaker. For uneven cooking‚ verify food placement and rack levels. Clean the oven regularly to prevent food residue buildup. Consult the manual for detailed troubleshooting guides or contact NuWave customer support for assistance with persistent issues.
8.2. Error Codes and Their Solutions
If an error code like E1 or E2 appears‚ it may indicate a heating element or sensor issue. E3 could signal a faulty temperature probe. Power reset or cleaning the sensor often resolves these. For E4‚ ensure proper placement of the Extender Ring. Refer to the user manual for specific code meanings and solutions. If issues persist‚ contact NuWave customer support at 1-877-689-2838 for professional assistance. Regular maintenance and cleaning can prevent many common errors. Always follow manual guidelines for troubleshooting.

Popular Recipes and Cooking Ideas
Enjoy quick‚ healthy meals with the NuWave Oven. Popular recipes include crispy pizza‚ roasted vegetables‚ and tender chicken. Adjust settings for perfect‚ crispy results every time. Explore more ideas in the manual or online for endless cooking inspiration.
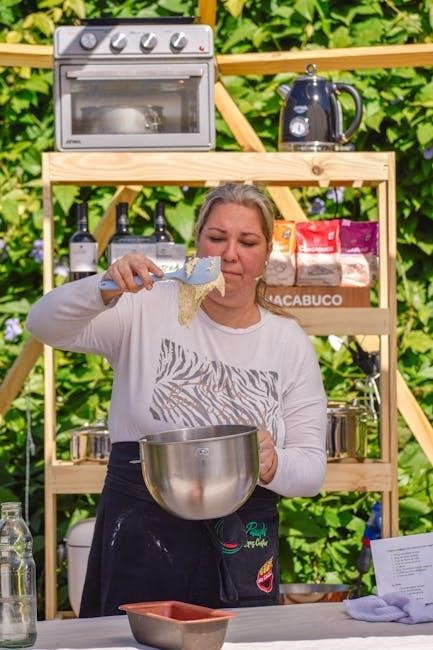
9.1. Quick and Easy Meals with the NuWave Oven
Prepare delicious meals effortlessly with the NuWave Oven. Cook crispy pizza‚ juicy chicken‚ or roasted vegetables in minutes using infrared and convection heat. Achieve healthy‚ flavorful results without extra oils. Perfect for busy days‚ the oven’s precise temperature control ensures evenly cooked dishes. Try one-pan meals or use the extender ring for multi-level cooking. Explore the cookbook for inspiration and enjoy quick‚ stress-free meals tailored to your taste preferences.
9.2. Advanced Recipes for Experienced Users
Elevate your culinary skills with sophisticated recipes tailored for the NuWave Oven. Achieve perfectly cooked prime rib‚ succulent seafood paella‚ or crispy roasted duck using advanced infrared and convection settings. Experiment with multi-level cooking by utilizing the extender ring for dishes like a whole turkey with roasted vegetables. The oven’s precise temperature control and versatile heat distribution allow for intricate flavor development‚ making it ideal for complex‚ gourmet meals that impress. Unlock your creativity and refine your cooking techniques with ease.
Warranty and Customer Support Information
Understand your warranty terms and guidelines to ensure coverage. For inquiries‚ contact NuWave‚ LLC at 1-877-689-2838 or email help@nuwaveoven.com. Refer to the manual for unresolved issues.
10.1. Understanding the Warranty Terms
Your NuWave Oven warranty covers manufacturing defects for a specified period. Ensure compliance with all safety guidelines and usage instructions to maintain warranty validity. Misuse or failure to follow instructions may void coverage. For detailed terms and conditions‚ refer to the official manual provided with your purchase. Keep your proof of purchase handy for any warranty claims. Visit the NuWave website or contact customer support for assistance with warranty-related inquiries.
10.2. Contacting NuWave Customer Service
For any questions or concerns about your NuWave Oven‚ contact customer service at 1-877-689-2838 or email help@nuwaveoven.com. Visit the official NuWave website for additional support options‚ including live chat and FAQs. Representatives are available to assist with warranty inquiries‚ operational issues‚ or troubleshooting. Ensure to have your product serial number ready for efficient service. NuWave customer support is committed to resolving your queries promptly and effectively.

Where to Find Manuals and Additional Resources
Access NuWave manuals‚ quick-start guides‚ and recipe books on the official NuWave website or trusted platforms like all-guidesbox.com. Download PDF manuals for models like the NuWave Oven Pro Plus and Bravo XL. Explore detailed instructions‚ troubleshooting tips‚ and recipes to enhance your cooking experience. For further assistance‚ contact NuWave support at help@nuwaveoven.com.
11.1. Downloading the Official User Manual
Visit the official NuWave website or trusted platforms like all-guidesbox.com to download the official user manual for your NuWave Oven. Models like the Pro Plus and Bravo XL have dedicated PDF guides. These manuals include detailed setup instructions‚ safety precautions‚ and operational tips. Additionally‚ you can find recipe books and troubleshooting guides to enhance your cooking experience. Ensure you download the correct manual for your specific model to access accurate information and support.
11.2. Accessing Quick-Start Guides and Recipe Books
NuWave offers quick-start guides and recipe books to help you maximize your oven’s potential. These resources are available on their official website and partner sites. The quick-start guide provides a concise setup and operation overview‚ while recipe books feature diverse meal ideas. From quick snacks to advanced dishes‚ these resources cater to all skill levels. Additionally‚ the Pro Plus and Bravo XL models have specific guides to ensure you get the most out of your cooking experience with ease and efficiency.