The Galileo Telescope is a unique, effective tool for stargazing, inspired by Galileo’s 1609 invention. It offers a limited viewing field but is easily portable for backyard or travel use, making it perfect for observing constellations or Saturn’s rings.
Setting Up Your Galileo Telescope
Proper assembly and alignment are crucial for optimal performance. Begin by assembling the telescope according to the instructions, ensuring all parts are securely fitted. Align the finder scope with the main tube for accurate targeting. Start with terrestrial viewing to familiarize yourself with the instrument before transitioning to astronomical observations. Always ensure the telescope is stabilized on a tripod and avoid pointing it at the sun to prevent damage or injury.
Assembling the Telescope
Assembling your Galileo telescope requires careful attention to detail to ensure proper functionality. Begin by attaching the telescope tube to the mount using the provided wrench. Secure it firmly to maintain stability. Next, install the altitude and azimuth adjustments, ensuring they are tightened properly to allow smooth movement. Attach the eyepieces and accessories tray, which holds essential components like the Mars-eye finder and eyepieces. Align the finder scope with the main tube before initial use, as this ensures accurate targeting. Refer to the manual for specific step-by-step instructions to avoid misalignment. After assembly, test the telescope during daylight by focusing on a distant object to ensure everything is working correctly. Proper assembly is crucial for clear and precise viewing, whether for terrestrial or astronomical observations. Always follow the provided setup and usage instructions to maximize your telescope’s performance and longevity.
Aligning the Finder Scope
Aligning the finder scope is a critical step to ensure accurate viewing with your Galileo telescope. Begin by attaching the Mars-eye electronic finder to the dovetail mount on the main telescope tube. Loosen the thumb screws, slide the finder into place, and tighten the screws securely. Once mounted, align the finder by aiming the telescope at a distant, stationary object during daylight, such as a chimney or tree. Use the altitude and azimuth adjustment knobs to center the object in the main telescope’s eyepiece, then adjust the finder scope to ensure the object is centered in its view as well. Proper alignment ensures that the finder scope accurately guides the telescope to celestial or terrestrial targets. After alignment, test the setup by observing another distant object to confirm accuracy. This process is essential for efficient and precise navigation of the night sky or landscape. Always ensure the finder is aligned before attempting astronomical observations to maximize your viewing experience.

Using the Telescope for Terrestrial and Astronomical Viewing
The Galileo telescope excels for both land and sky observations. Start with terrestrial viewing to ensure proper focus and alignment. Transition to astronomical targets like constellations or planets, using higher magnification for detailed views. Always begin with lower power for clarity.
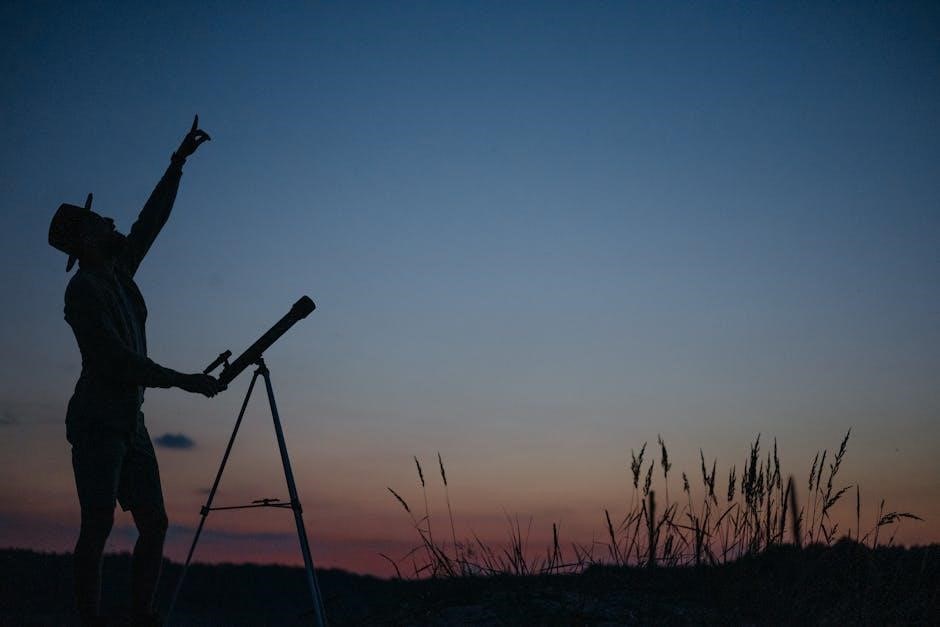
Terrestrial Viewing: Observing Land Objects
Terrestrial viewing with the Galileo telescope is an excellent way to familiarize yourself with its operation. Start by practicing during the day to ensure proper focus and alignment. Use the telescope to observe distant land objects, such as trees, buildings, or wildlife, to refine your aiming and focusing skills. This step is crucial before transitioning to astronomical observations, as it allows you to verify that the telescope is assembled and aligned correctly.
Begin with lower magnification eyepieces for a wider field of view and clearer images. Gradually increase magnification as needed, but note that higher power may reduce image brightness and stability. Always ensure the finder scope is properly aligned with the main telescope to simplify targeting objects. For best results, use a sturdy tripod to minimize vibrations and maintain stability during observation.
Avoid pointing the telescope directly at the sun, as this can cause serious eye damage. Terrestrial viewing not only enhances your skills but also ensures the telescope is functioning properly before attempting astronomical observations. This step is essential for a satisfying and effective viewing experience;
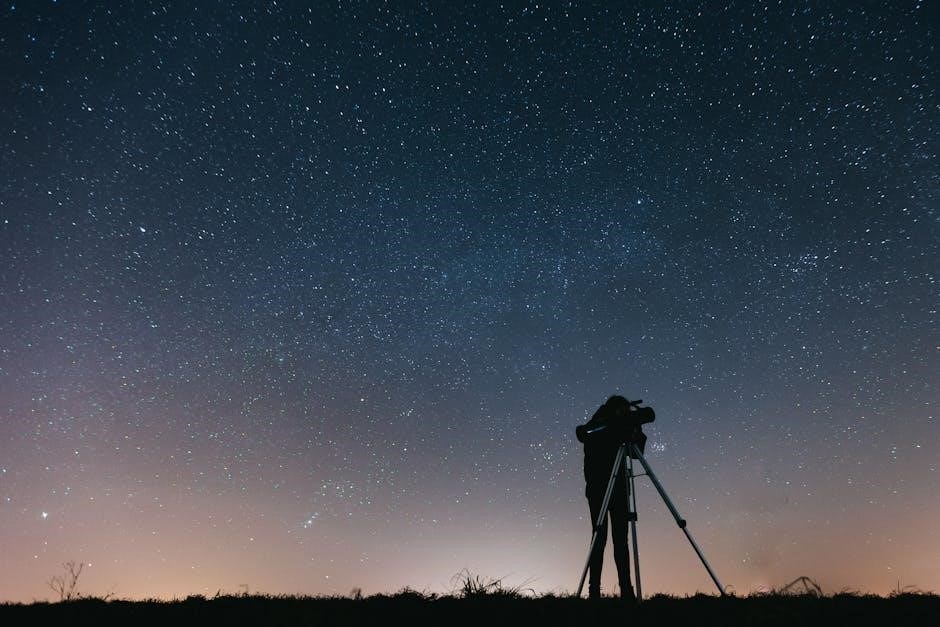
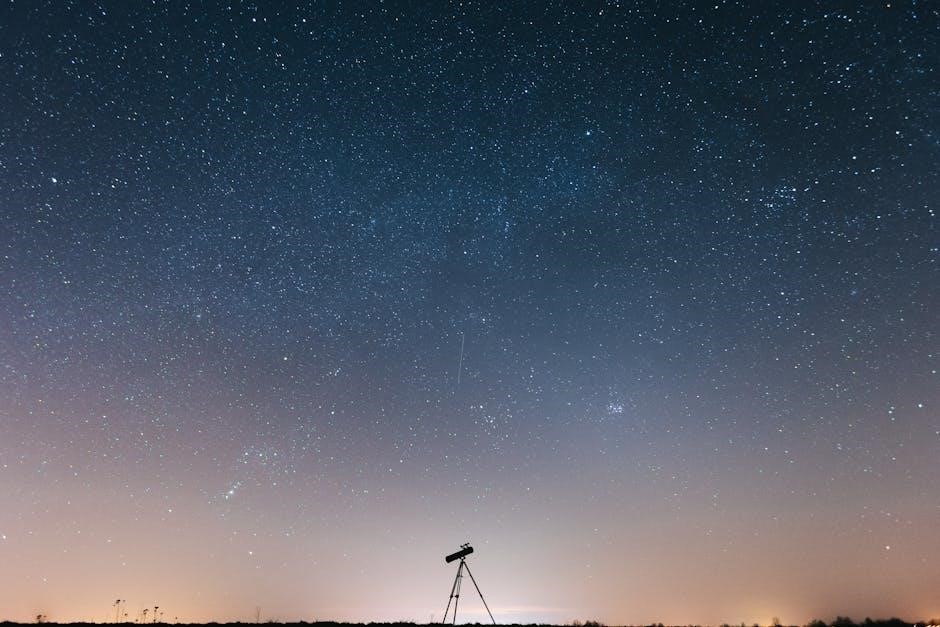
Astronomical Viewing: Observing the Night Sky
Once comfortable with terrestrial viewing, transition to astronomical observations for a thrilling stargazing experience. Begin with bright objects like the Moon, planets, or constellations to refine your skills. The Galileo telescope is ideal for observing the Moon’s craters, Saturn’s rings, and Jupiter’s moons. For best results, set up your telescope in a dark location with minimal light pollution and ensure it is stabilized on a sturdy tripod to prevent vibrations.
Allow the telescope to cool to ambient temperature to avoid fogging or optical distortion. Start with low magnification eyepieces for wider views and gradually increase power for detailed observations. Be patient, as focusing on celestial objects requires precision and time. Always avoid pointing the telescope at the Sun, as this can cause severe eye damage. Use red light sources for illumination to preserve your night vision.
Refer to star charts or astronomy apps to locate objects in the night sky. Practice regularly to improve your ability to track and observe celestial bodies. The Galileo telescope offers a classic way to explore the universe, making it a rewarding tool for both beginners and enthusiasts.
Accessories and Optional Equipment
Enhance your stargazing experience with a variety of accessories designed for the Galileo telescope. The G-SPA SmartPhone Adapter is a popular choice, allowing you to capture celestial images or videos through your smartphone. Additionally, the Mars-Eye Electronic Finder simplifies locating celestial objects by projecting a red dot onto a viewing screen, ensuring quick alignment with your target. For added stability, consider the TP-1 Tripod, which includes Bluetooth functionality for remote operation, reducing vibrations during use.
Eyepieces are essential for varying magnification levels. The standard 20mm and 6mm eyepieces provide versatility, while optional Barlow lenses can further enhance magnification power. A dew shield is recommended to protect the telescope’s optics from moisture, ensuring clear views even in damp conditions. For comfortable observing, a diagonal prism can be added to redirect the image, making it easier to view objects overhead. Finally, optional star charts or astronomy software can help you identify constellations and plan your observations effectively. These accessories expand the capabilities of your Galileo telescope, offering a more enjoyable and rewarding stargazing experience.
Safety Precautions and Best Practices
Using the Galileo telescope requires attention to safety to ensure a secure and enjoyable experience. Never point the telescope at the sun, as direct solar observation can cause severe eye damage or blindness. Always use a solar filter if observing the sun, but note that this accessory is typically sold separately. Prior to use, ensure the telescope is properly assembled and aligned to avoid mechanical issues during operation. When handling the telescope, avoid touching the optical surfaces, as oils from skin can damage the coatings. Use the lens caps to protect the optics when the telescope is not in use. For terrestrial viewing, ensure the area is well-ventilated and free from obstructions. Keep the telescope out of reach of children and avoid using it near open flames or sparks. Regularly inspect the tripod and mount for stability to prevent accidental tipping. By following these guidelines, you can ensure safe and effective use of your Galileo telescope for years to come.
Maintenance and Troubleshooting
Regular maintenance is essential to keep your Galileo telescope functioning optimally. Always clean the lenses and mirrors with a soft, dry cloth to prevent dust buildup, which can blur images. Avoid using harsh chemicals or abrasive materials, as they may damage the optical coatings. Store the telescope in a dry, cool place to prevent moisture accumulation, which can lead to mold or rust. If the telescope is not in use, cover the optics with protective caps to keep them clean. For troubleshooting, check the alignment of the mirrors or lenses if images appear blurry or distorted. Consult the user manual for guidance on realigning the optics. If the tripod or mount becomes unstable, tighten the locking knobs to ensure firm support. If you notice any damage or malfunction, contact the manufacturer or a professional for repair. Proper care and periodic inspections will extend the life of your telescope and ensure clear, sharp views for years of astronomical exploration.